Videoconferencing Part I
Since most of us are more or less forced to work from home, we’re using Zoom, Google meet, Microsoft Teams, Slack or other videoconferencing programs to keep in touch with each other. Even though most programs allow you to blur your background or replace it with a nice image, it isn’t ideal and the quality isn’t that good. On the other hand, you don’t want to be in a situation that you’re in the middle of an important meeting, and find out that you forgot to clean up that pile of laundry or other private goods that you rather don’t show to the outer world.
Intro
This is why I thought it would be nice to create a short series that helps you to professionalize your video conferencing setup. The focus is to keep a tight budget, let’s say about 150 Euro of hardware. We only will use open source programs to create your virtual environment you want to be in. This isn’t only a thing that is just fun to do, but I’ll show other possibilities as well. For example: You are able to place yourself in front of your PowerPoint presentation. In the end, you’ll be able to create an end-result like this:
Note:
This series will consist of 3 parts:
-
This intro and the hardware required.
-
The software needed and a tutorial on creating your virtual dynamic background using free software.
-
Setting up your virtual environment and virtual camera, and how to operate it.
The hardware required
So without further ado, let’s talk about the stuff I bought for my setup.
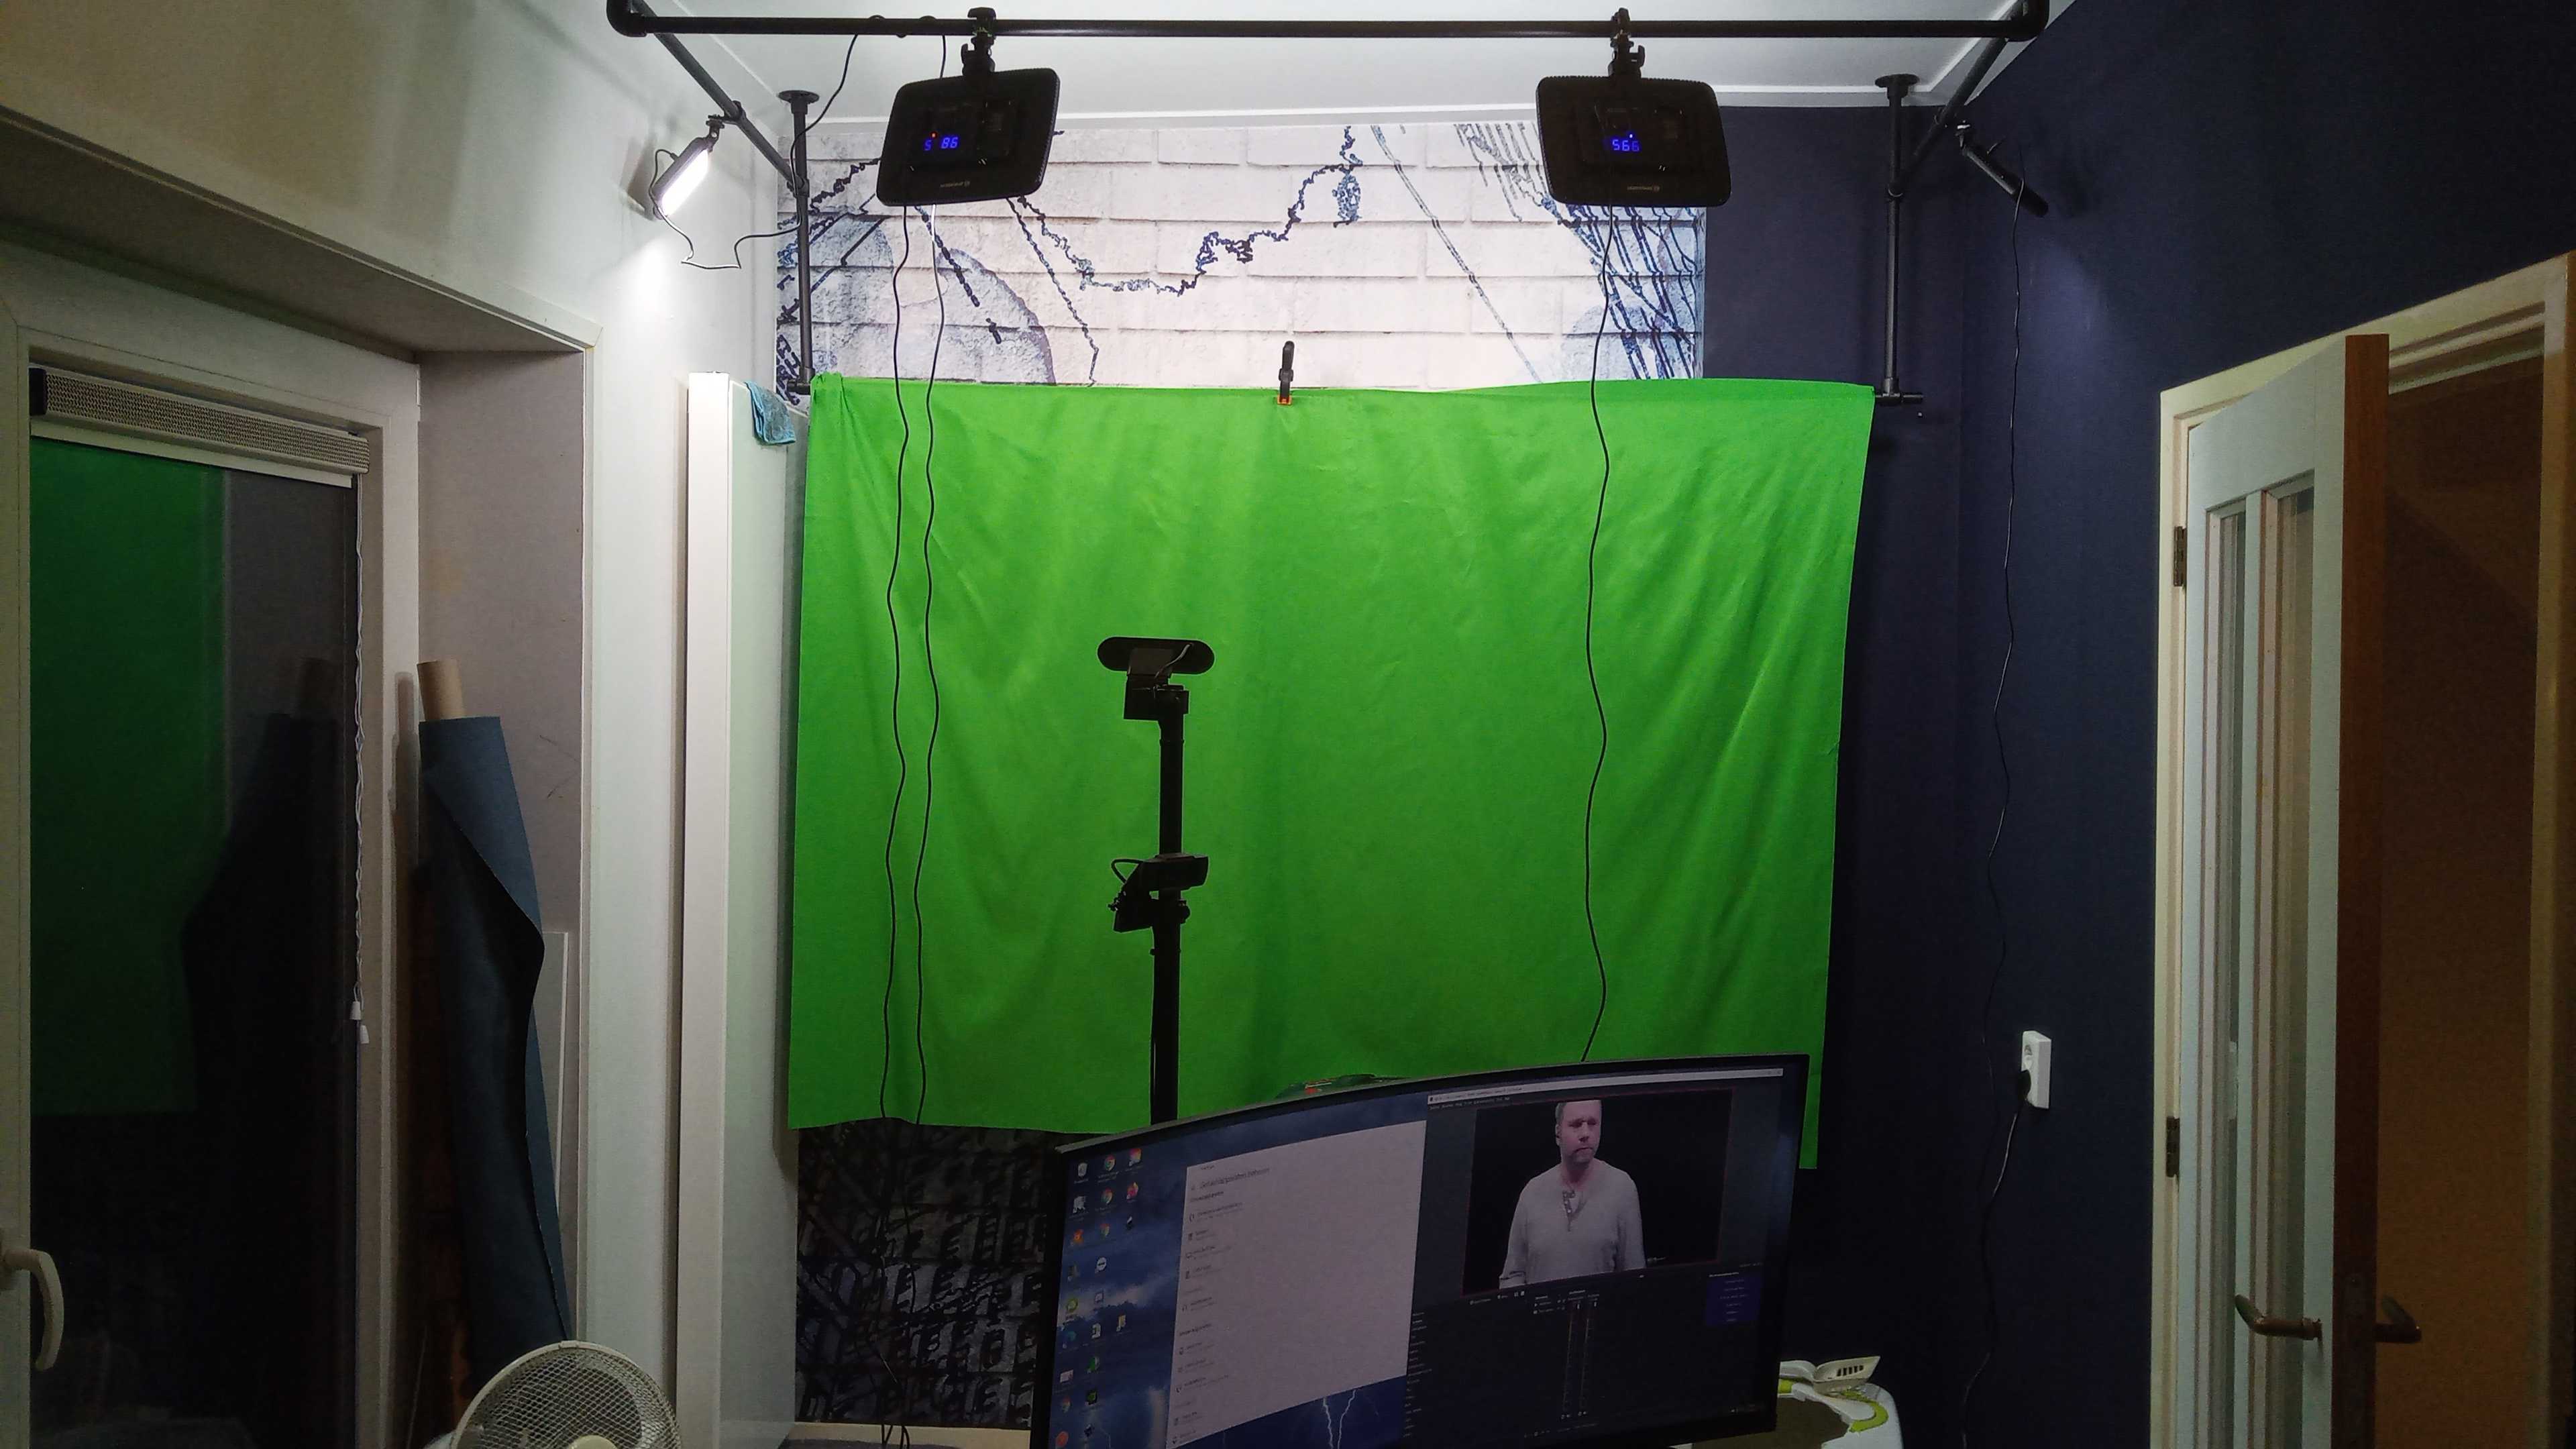
The green screen
The more professional term is a chromakey screen. Basically it’s a contrasting screen that makes it possible for software to filter it away. The reason for choosing the green color, is that there is no green in humans skin.
You could choose for a sheet of cloth, paper or pull-up screen. I’ve chosen the last, since it can easily be transported. It is also the easiest to create an evenly lighted background using the pull-up screen. You want as little possible shadows projected, so the software can do its job as good as possible. The one I purchased is 1,2 meter wide and 2 meters high. It cost me about 55 Euro including shipment, but of course, any alternative will do.
Short note about lightning:
The more evenly lit the background is, the better the software is capable of filtering it out. It is possible to buy special lightning for that purpose. I found out that changing a notebook webcam to a cheap external webcam did the job for me, so spending extra money wasn’t needed.
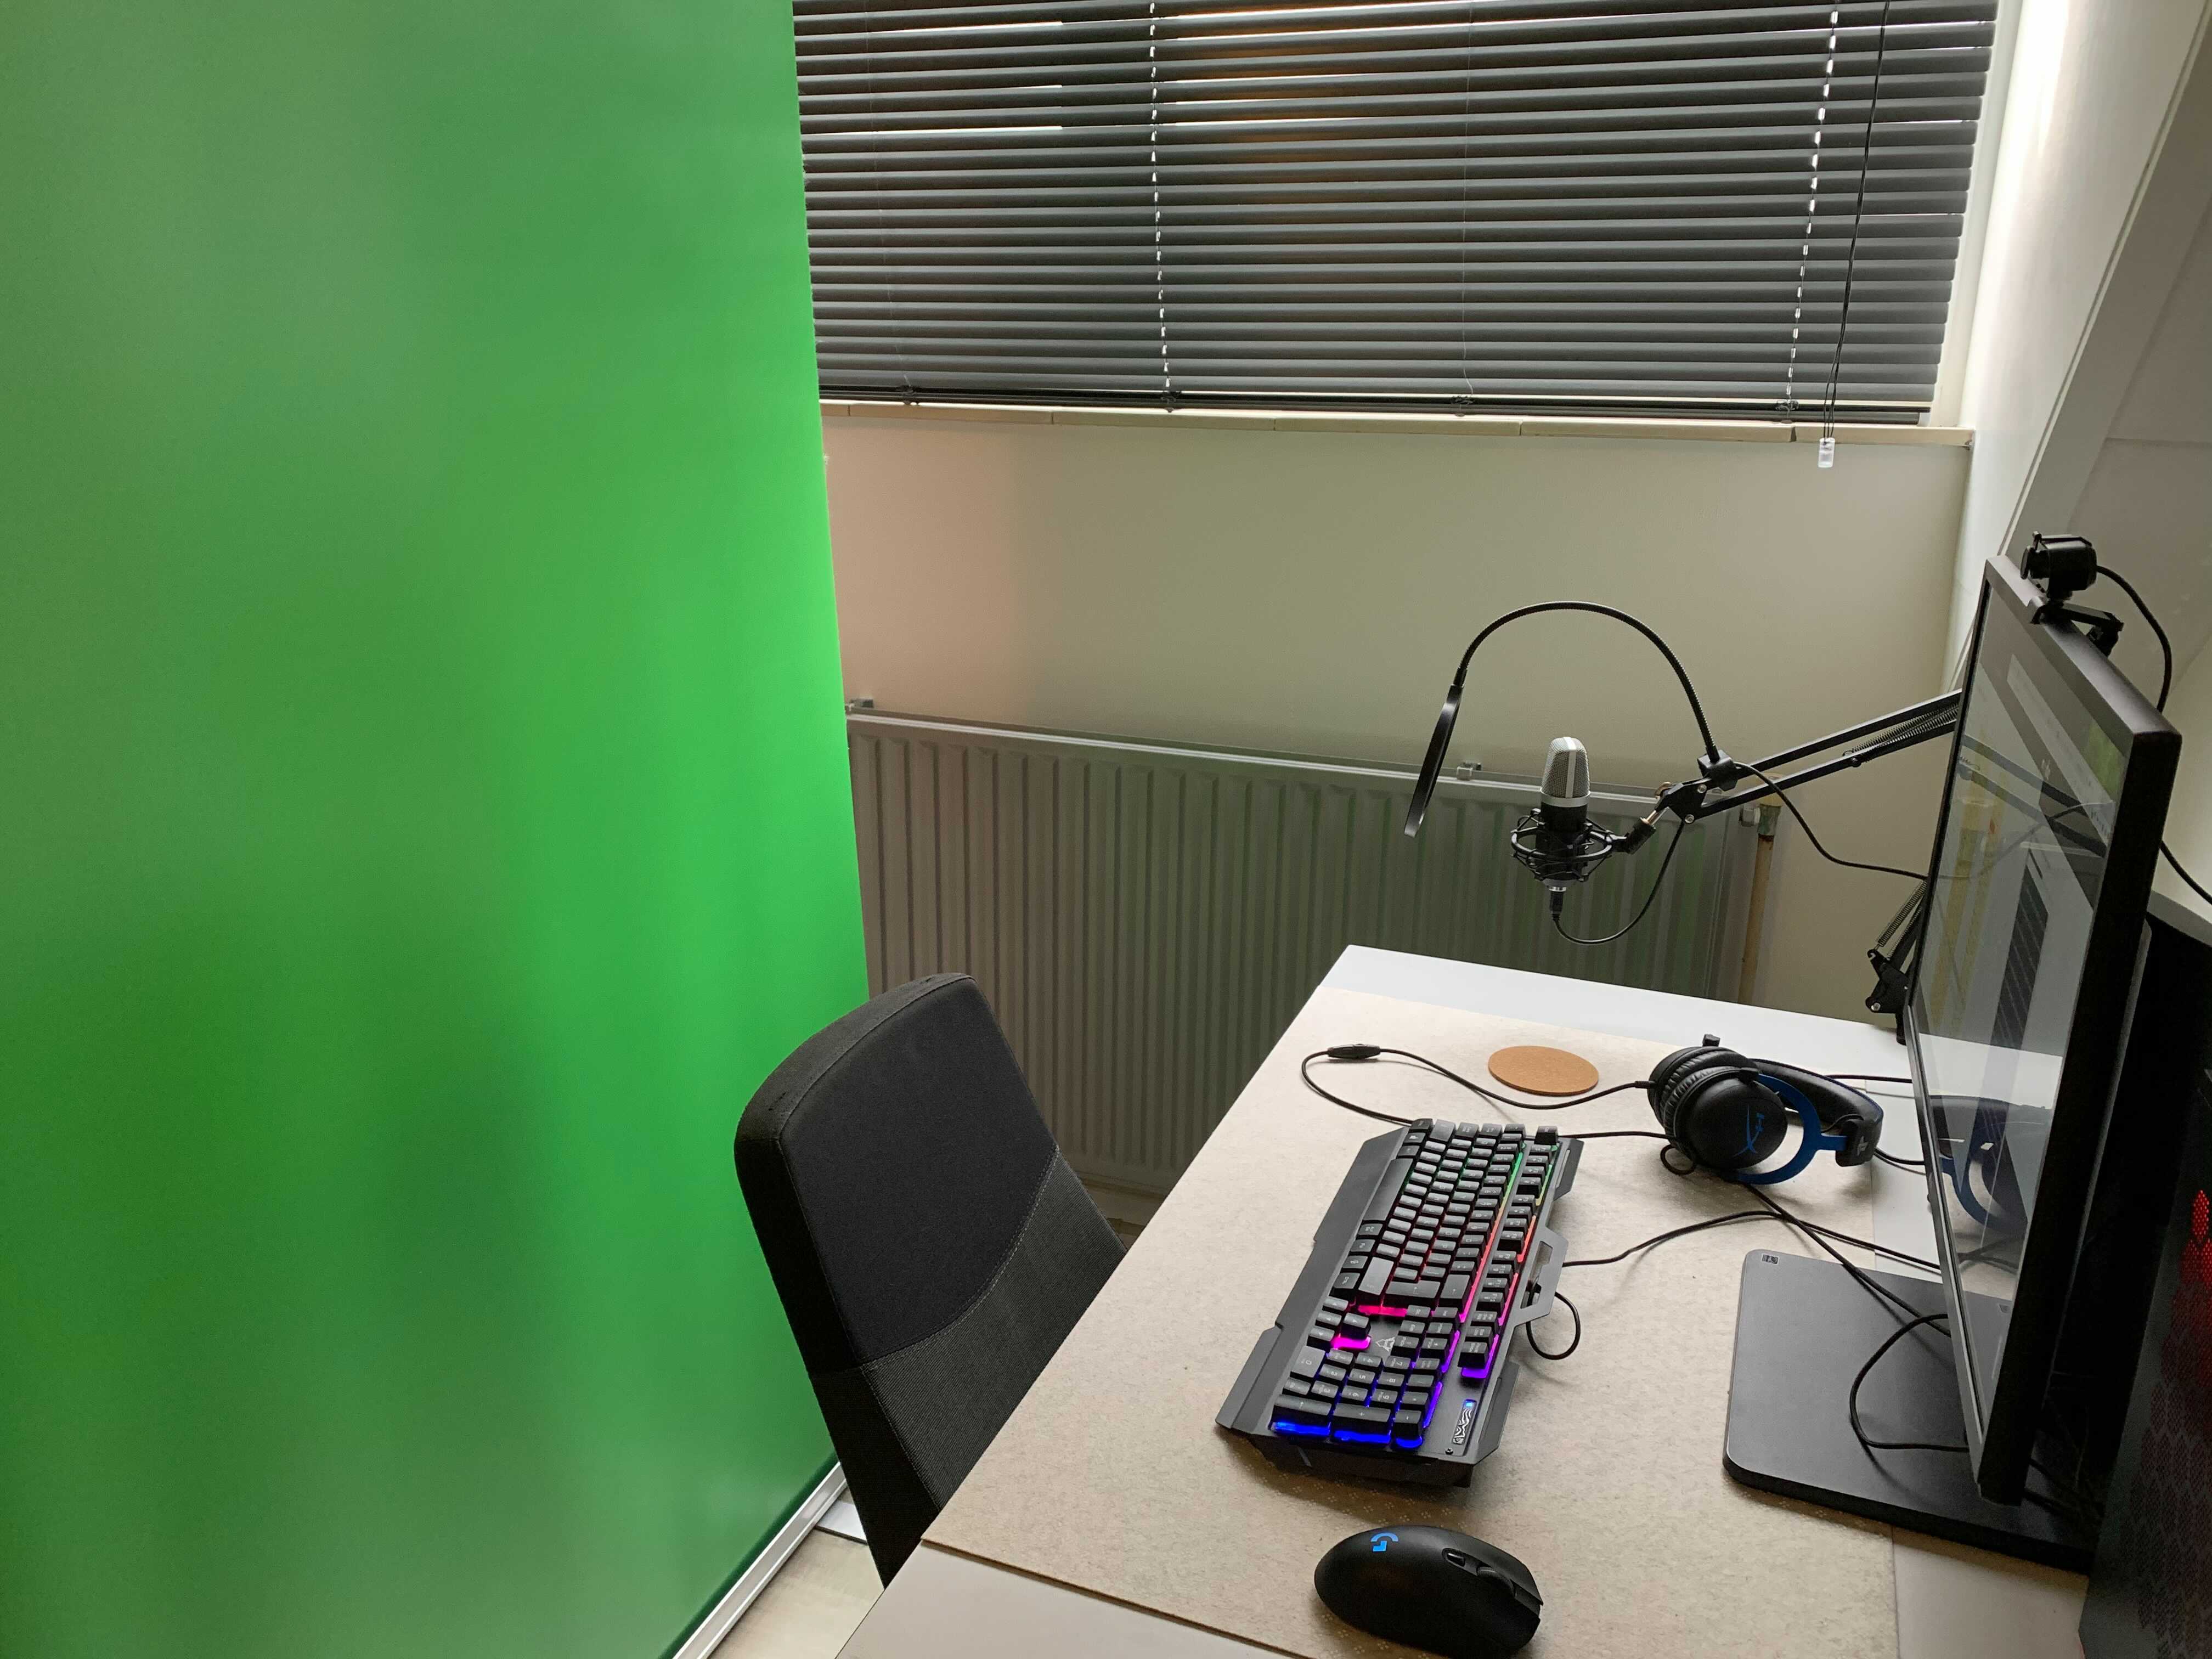
The webcam
Most laptops come with a build-in webcam. Even though they’re probably doing their job, I’ve found out that even a cheap 30 Euro webcam does a better job. This is because it will support 1080P recording, where an ordinary laptop cam is limited to 720P. The one I purchased has some fish-eye effect on the sides. In part 3 of this series, I’ll show you how to deal with that as well.
The microphone
Okay, this was the part that was most expensive for my set-up. I’ve spent a whooping 65 Euro on a cardioid PC streaming microphone kit. This is due to the fact that I don’t like the sound of the webcam microphone, and using the build-in one on my laptop guarantees that others will hear their own voice echoing when they talk. Why did I choose for this one? Well, first a colleague of me suggested this one. Second, I’m on a budget, so I did not want to spend more. The version I bought does come with a standard and pop-filter, this takes away the hard “pfff” sounds when you breathe out in the direction of the microphone. What I like as well is that it comes with an ‘Anti-Vibration Suspension Shock Mount Holder’, so when you bounce against your table, your audience won’t directly sue you for damaging their hearing. All in all, this would seem like a fair deal for the money. Blind-testing it with another college using the web-cam, gaming headset, build-in microphone and the external usb microphone, it came out best:
-
The external usb microphone
-
The gaming headset (surprisingly was very good, so probably will work for most of us as well)
-
The laptop microphone
-
The webcam microphone
Total spending
This brings the total spend to the 150 Euro I wanted to spend. Of course, you still can do a lot without buying the microphone or webcam, but you’ll at least need the chroma-key screen. The spending needed thus can be between 55 and 150 euro.
Next stop: Part two!
Skip to: Part three
