Videoconferencing Part III
As explained in part two of this series, OBS is a tool that makes it possible to create your ‘virtual camera’. We can use this camera in conferencing tools like Zoom, Slack, Microsoft Teams, Google meet, Signal, and so on. OBS is available for Windows, Mac and Linux, so it will probably work on your system as well. In this part I’m going to explain how to get and install OBS, then we’re going to use it together with the chromakey screen. I’ll focus on the virtual camera support, but the OBS suite can do a lot more. It is free and open source software for video recording and live streaming. It allows you to apply filters, supports NFI (via a plug-in) and much more.
Getting OBS
OBS can be found on the OBS project website. Here you’ll find a support forum as well, there is an active community helping you out on problems you might face. For now let’s download the software. Select your operating system en press ‘Download Installer’. When you’re using Linux, it’s a bit harder. If your distribution does not offer OBS Studio as a package, you’ll have to build it yourself. Luckily the build instructions are not that hard to follow. On the Mac or on Windows, the process is straight-forward. After downloading the installer, just run it, and follow the given steps. As it gives you the question for what it should be optimised for, I did choose 'streaming'. You are able to change this later on in the 'Profile menu', when you select 'New'.
Creating your virtual environment
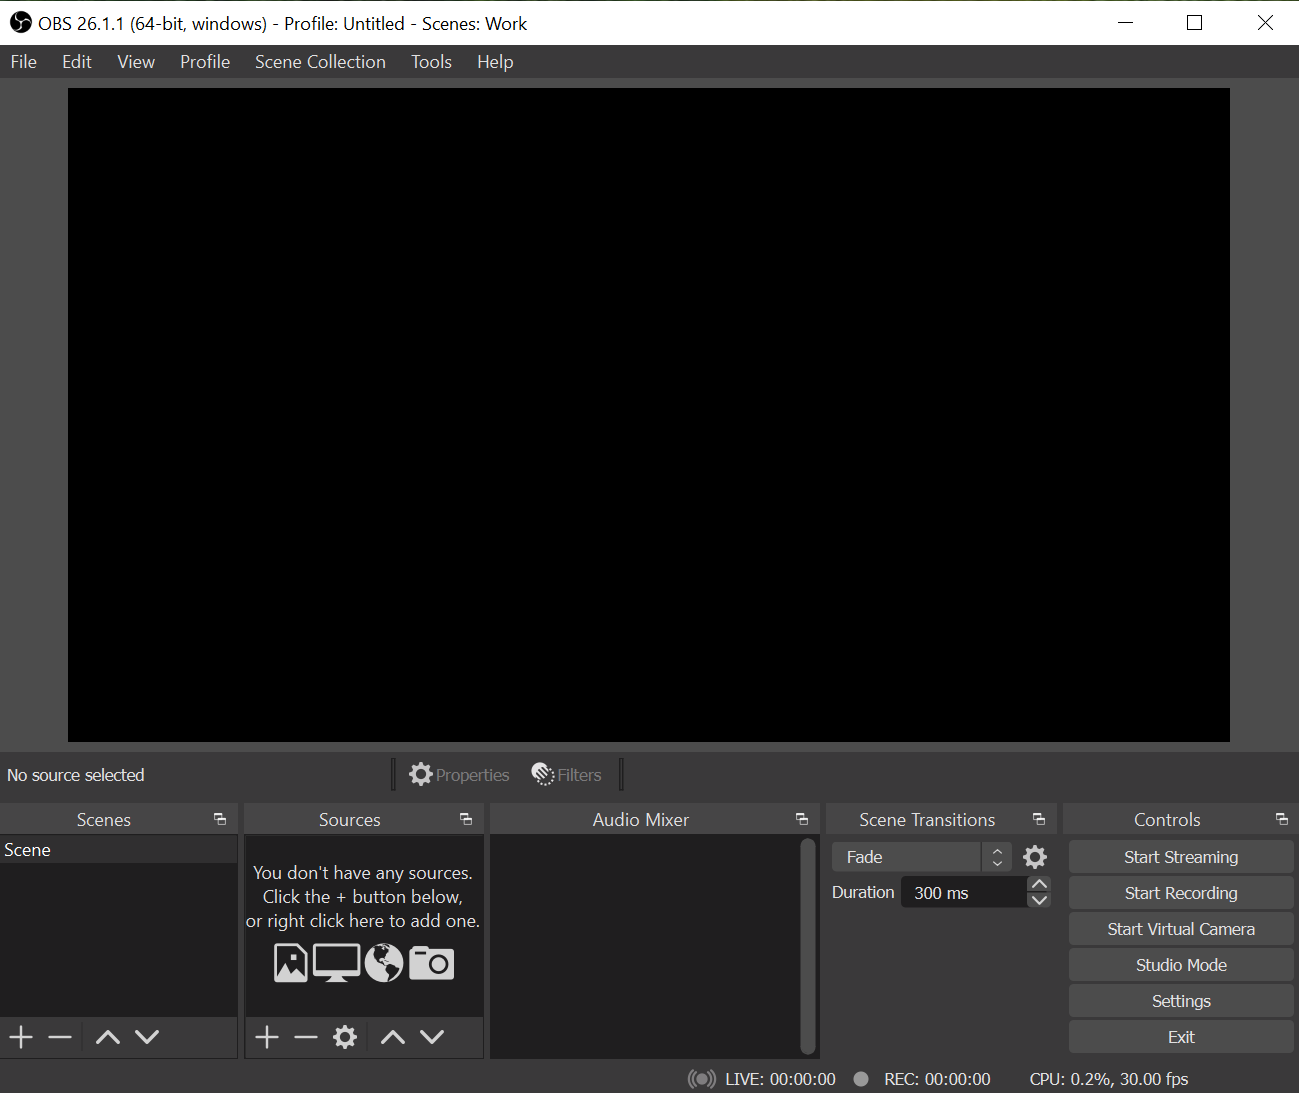
Now it’s time to startup OBS. You will see a screen like this:
Adding your camera source
Now add your camera.
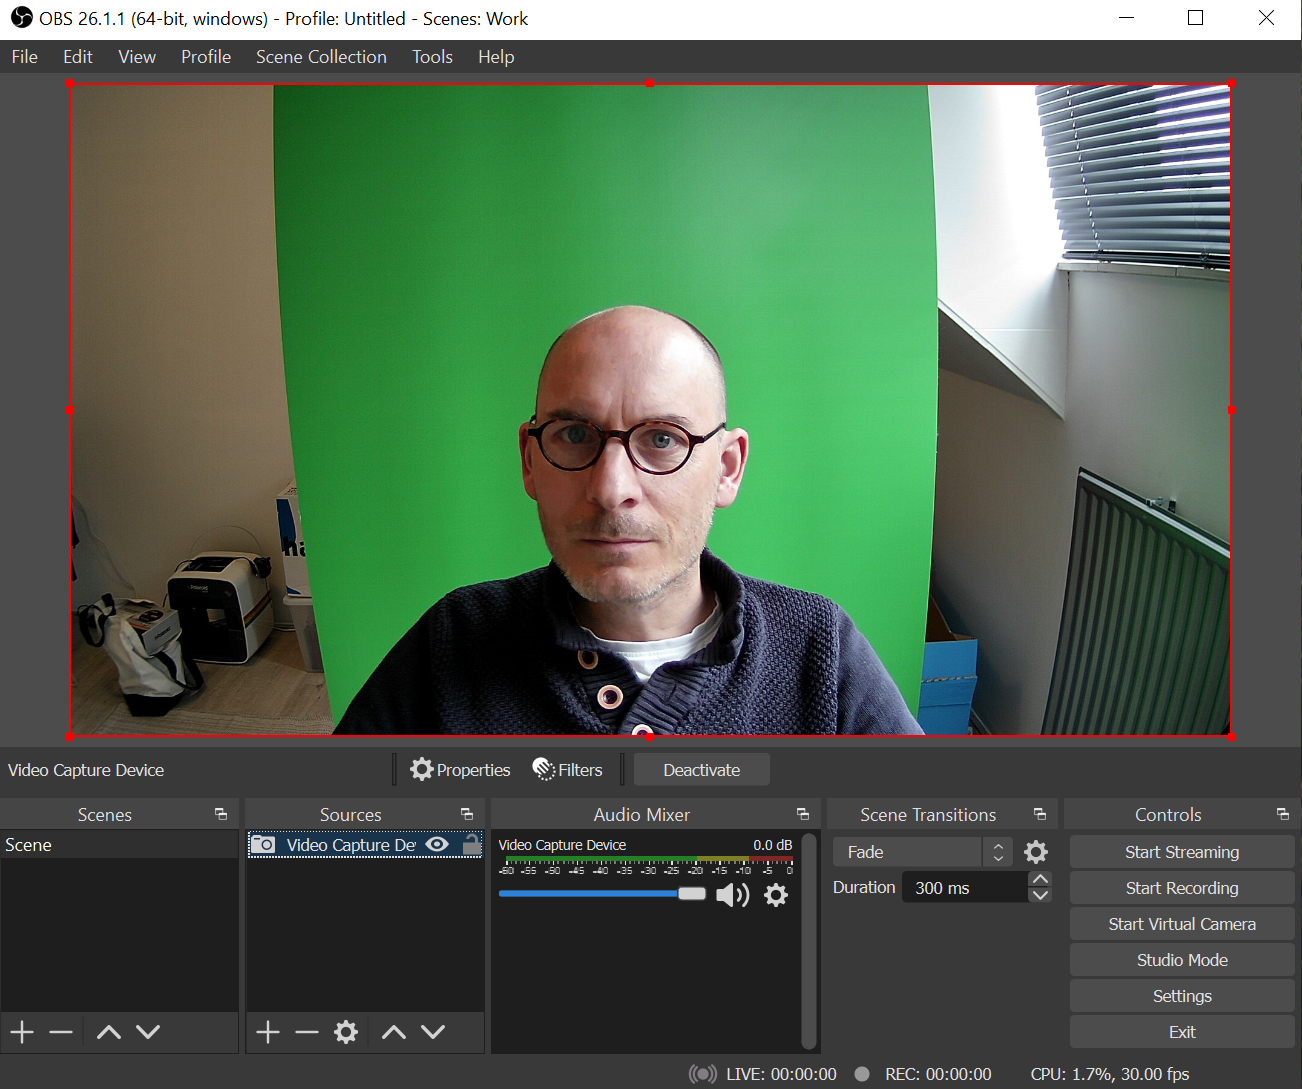
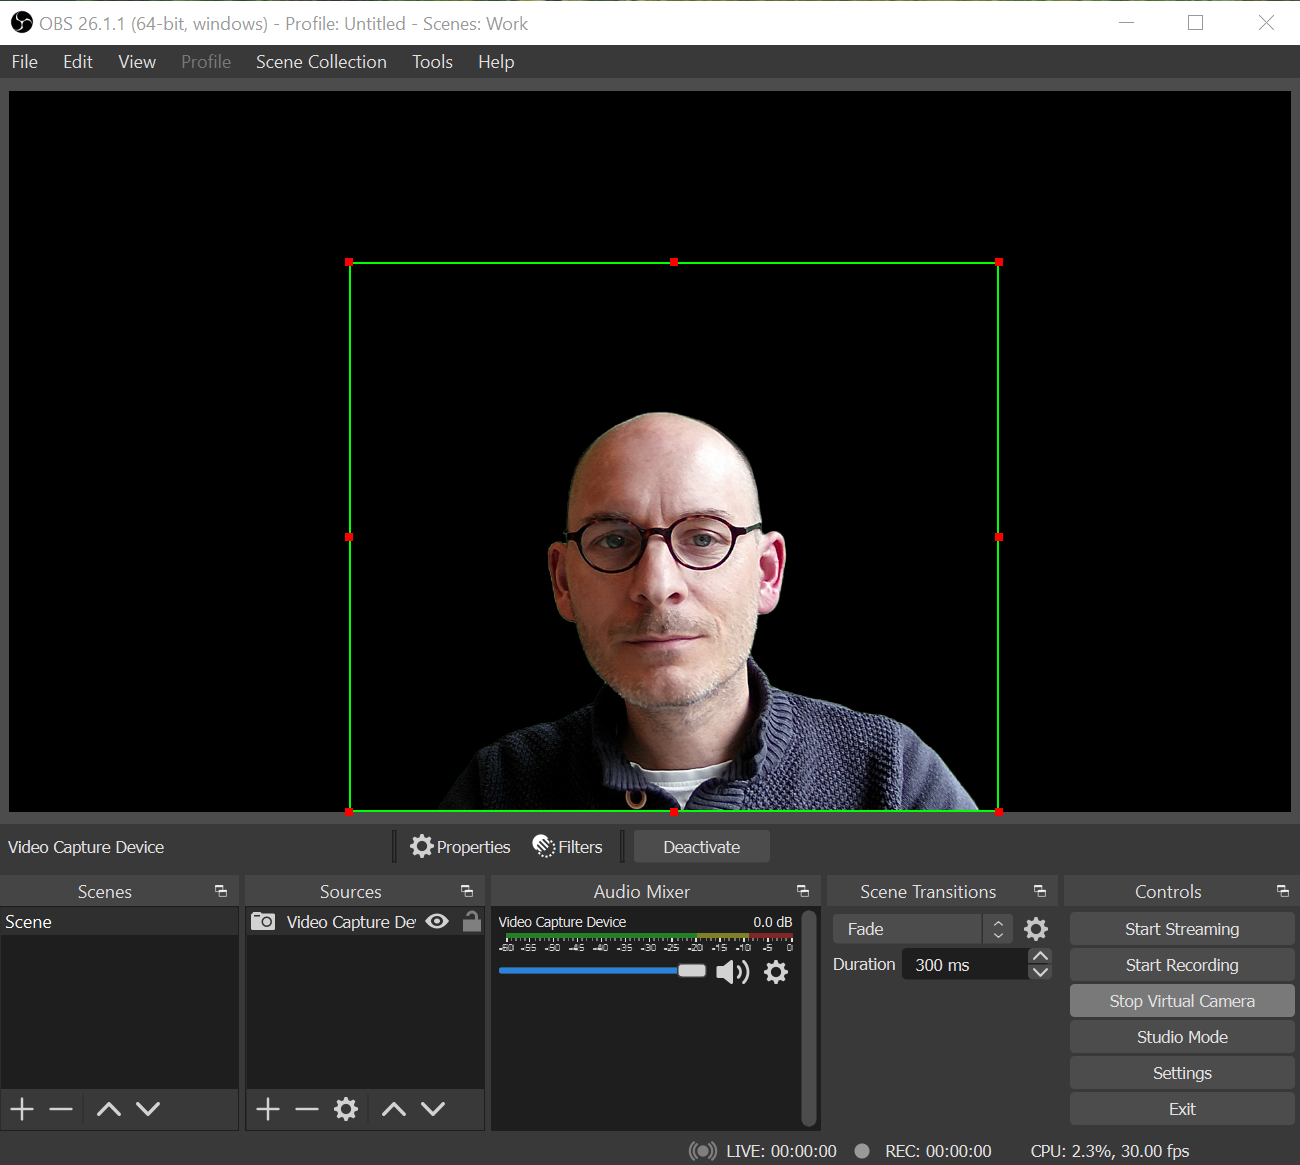
As you can see, the camera has a fish-eye distortion at the edges, and you still see more than just the person with a green background. Let’s fix this.
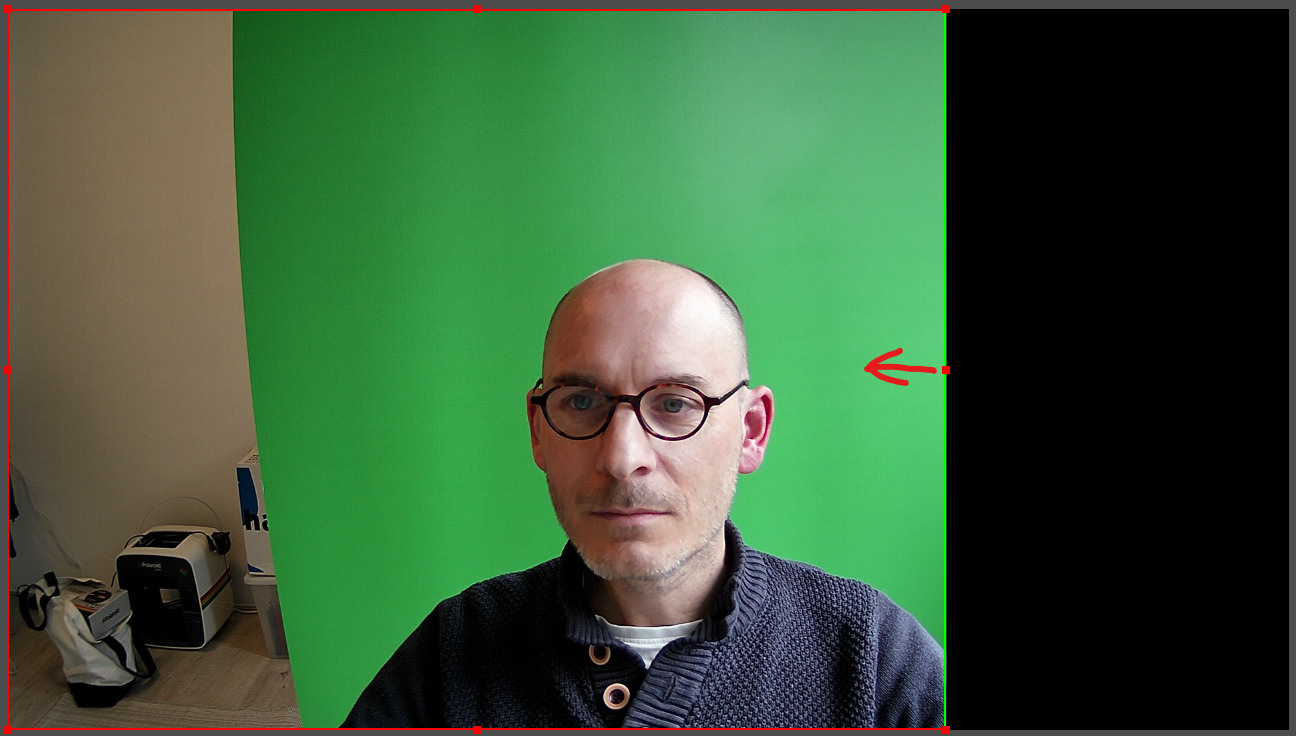
On you Windows machine press the Alt key, on your Apple use the 'Command' key. Keep it pressed-down and select one of the edges, to move them inside. Do this for all sides, so you get a nice cut-out and move all unwanted items away.
-
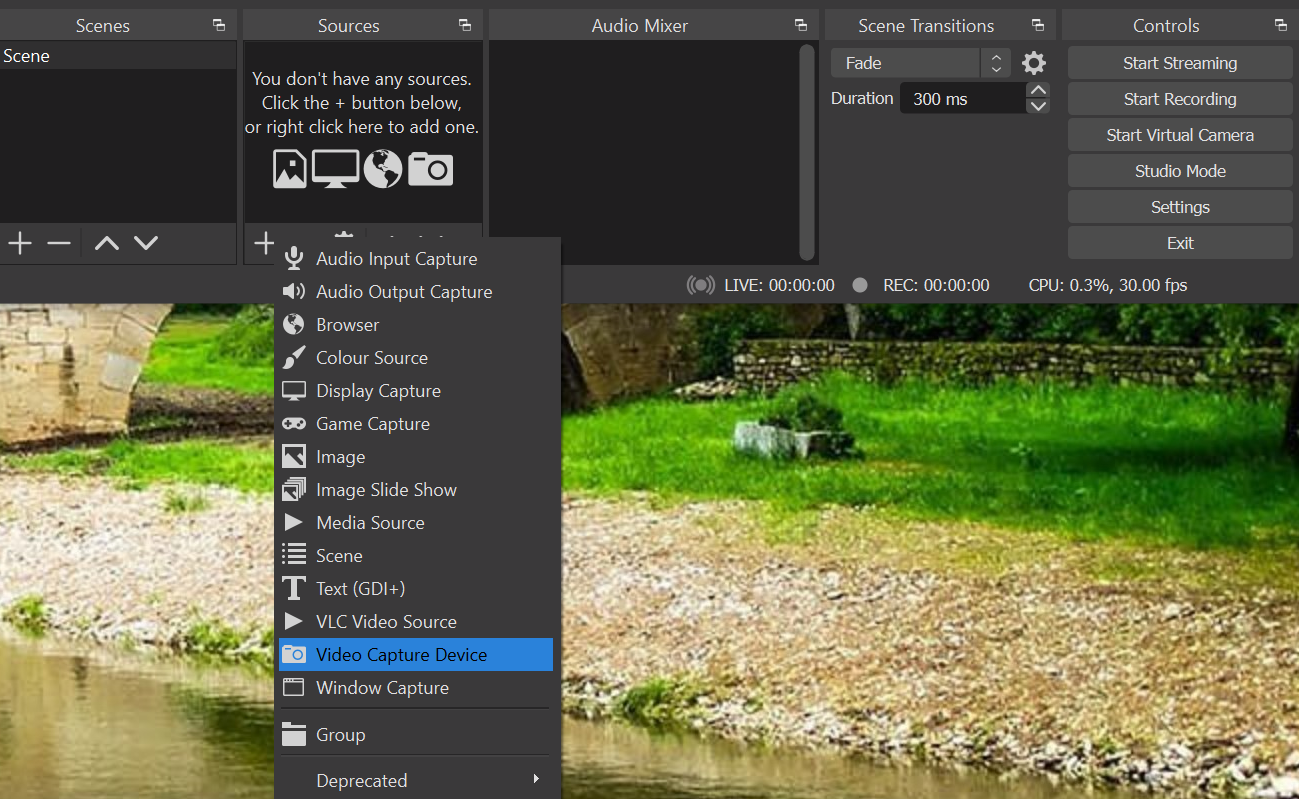
Click on the + below the 'Sources' and select 'Video capture device'.
-
Leave the popup as-is (create new), and click OK
-
Select your webcam in the Device-pull-down menu
-
Leave everyting as-is, and click OK
The result will be something like this:
Removing the background
Time to remove the green screen. Right-click the 'Video Capture Device', and click 'Filters'.
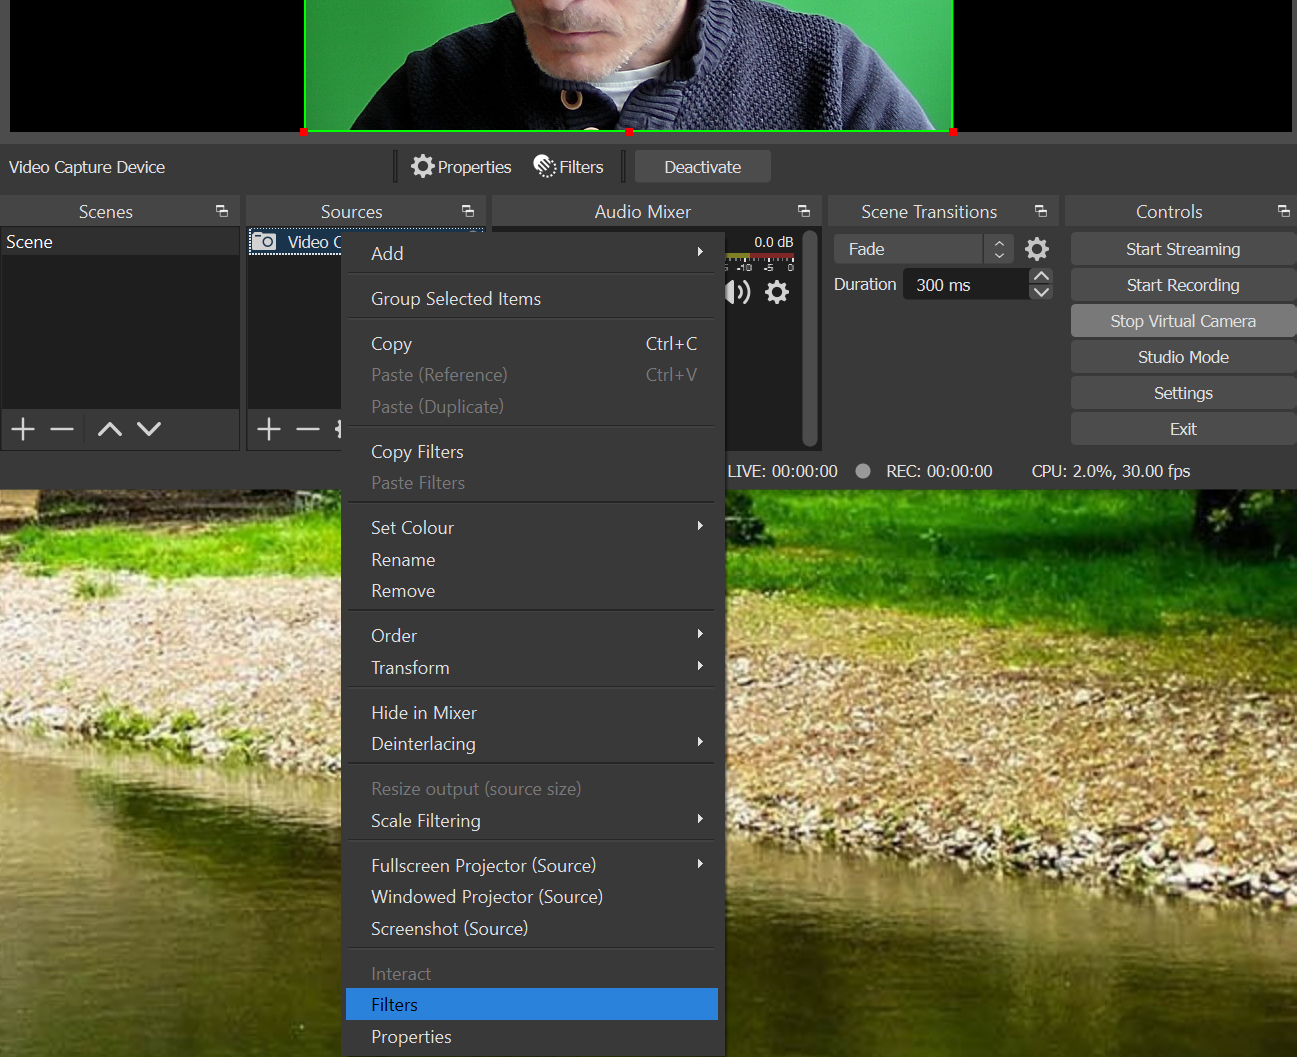
Below the part 'Effect Filters', click on the + button, and select 'Chroma Key', then 'OK'. Your background will become grey now, that’s okay! You might want to play around with the 'Similarity slider' and the 'Smoothness' slider, but most of the time, the defaults are okay, so press 'Close'. The result would be something like this:
Adding a new background
Time to add a background!
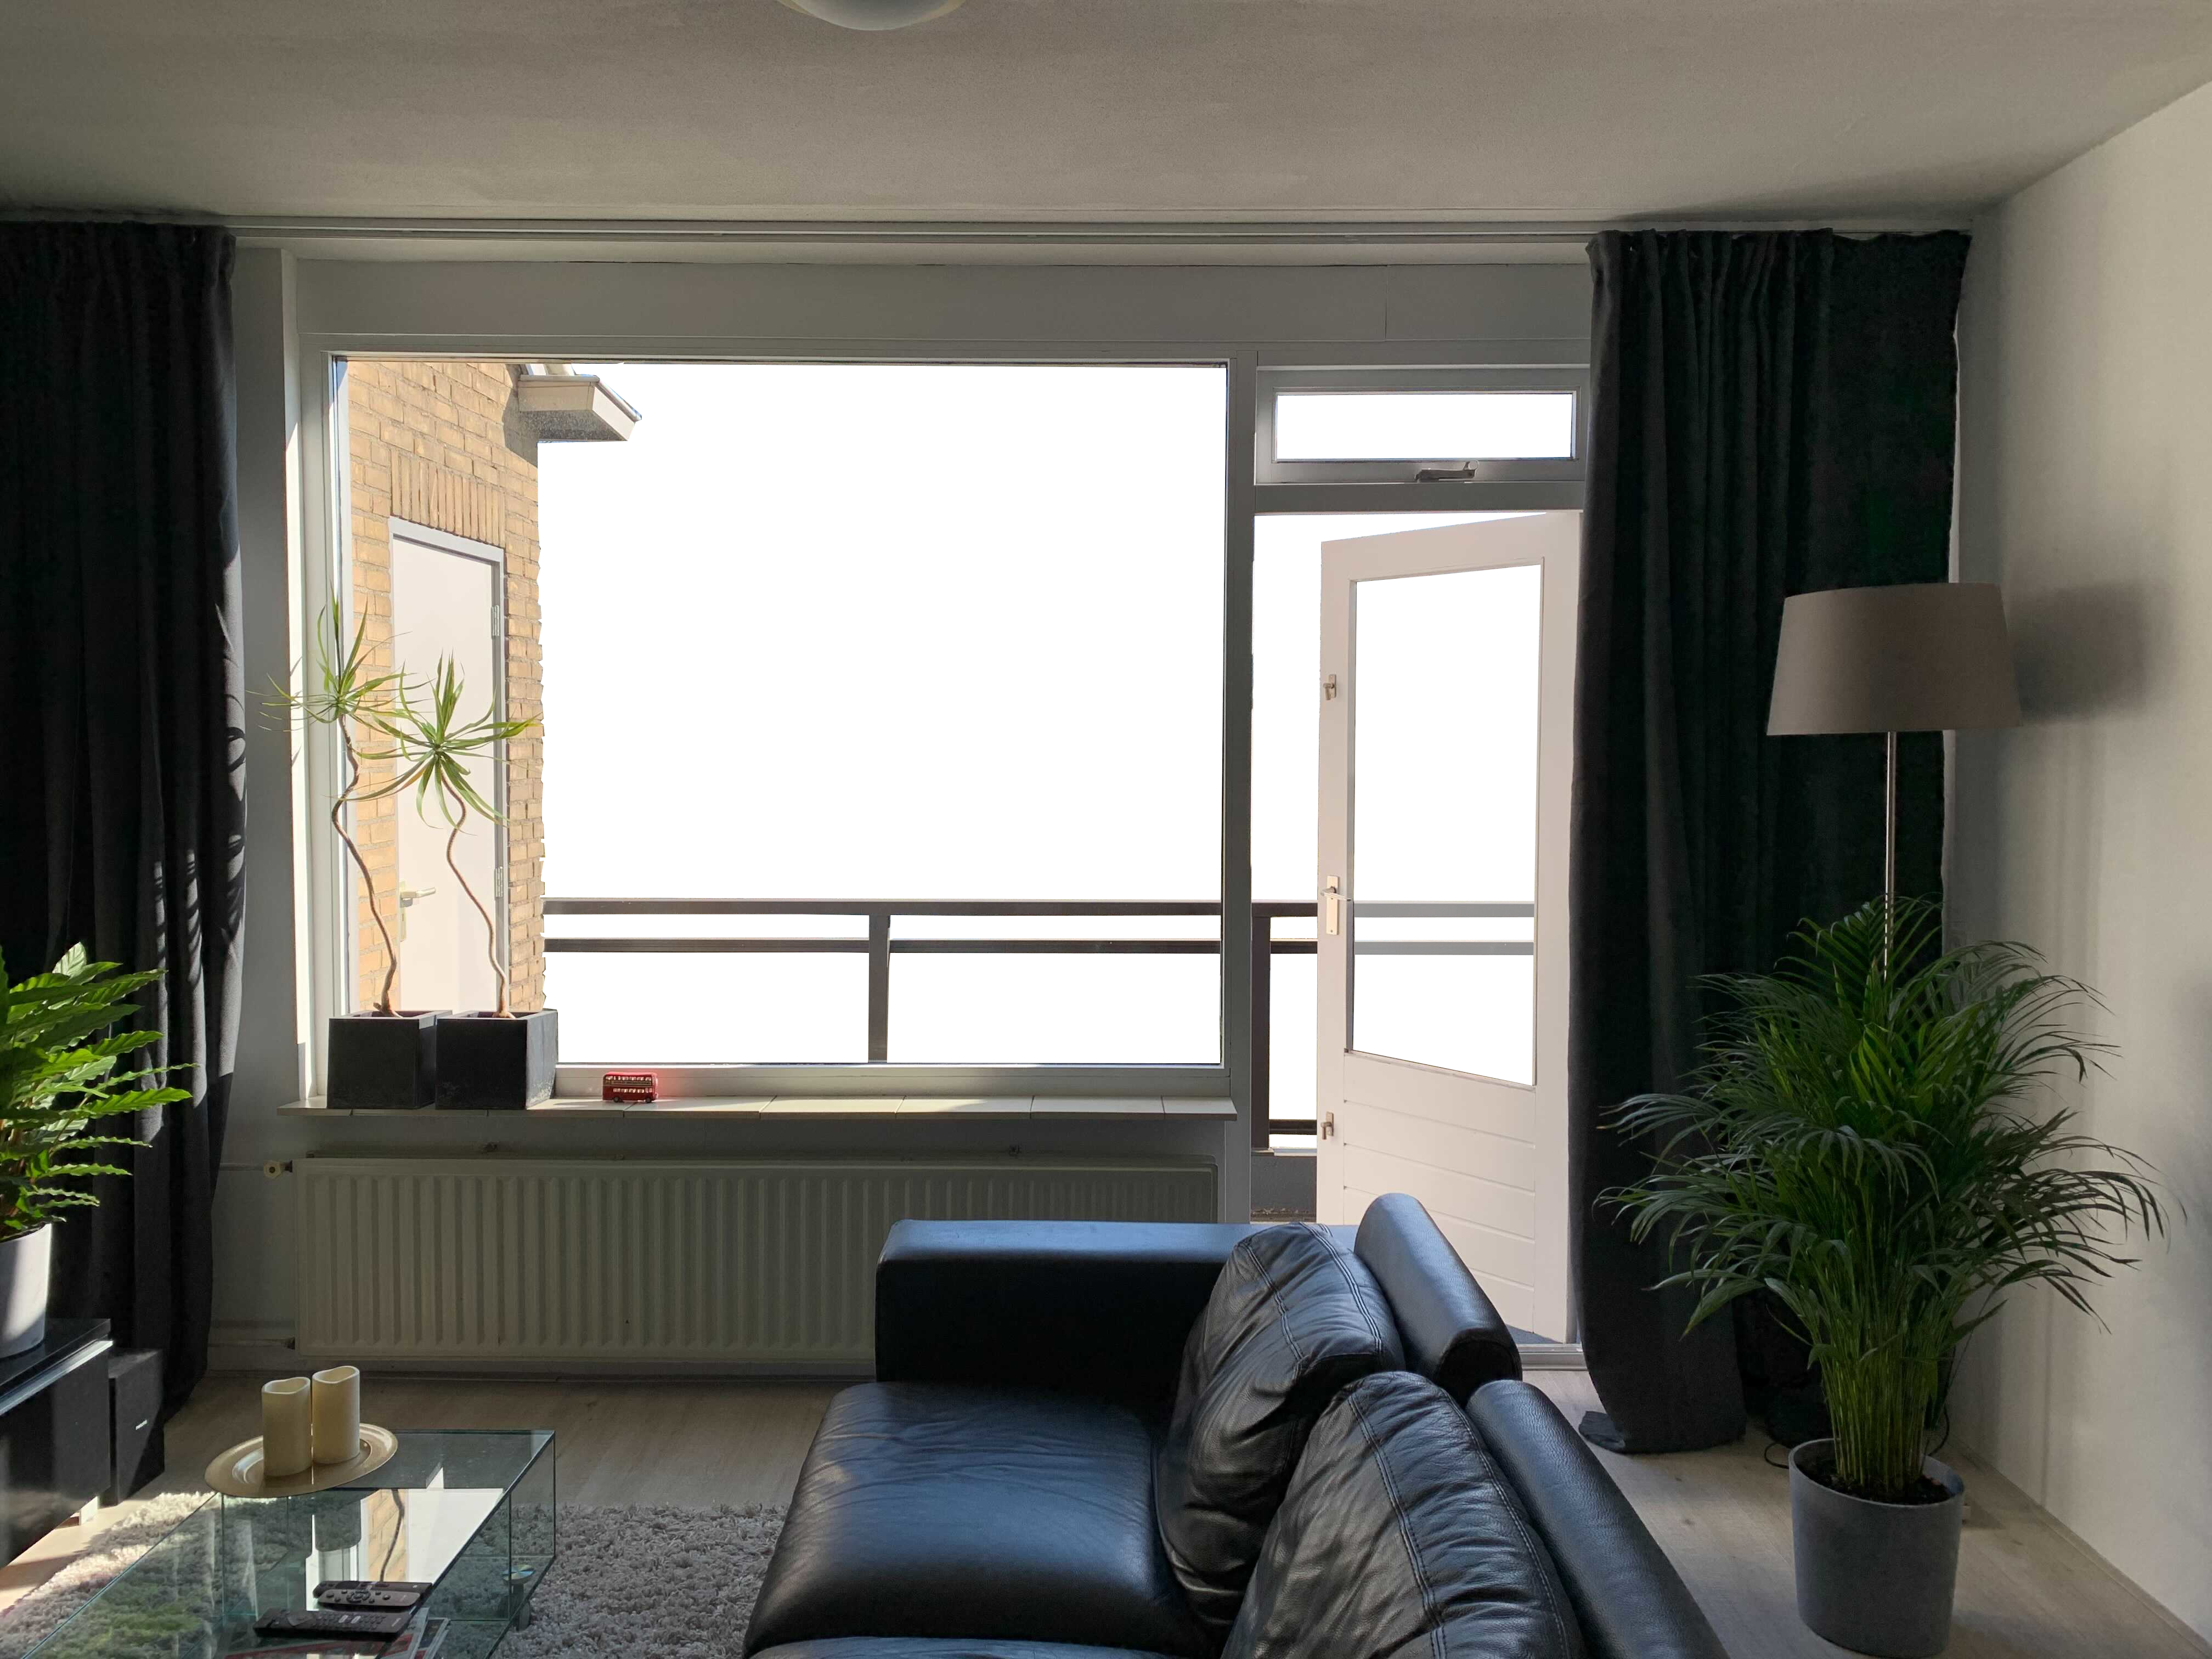
Remember that image from the previous part? Just download it to your desktop, and using your mouse, drag and drop it into the sources. Now drag it 'below' the 'Video Capture Device', select it, and press <Ctrl-s>. Or right click, Transform, Stretch to screen.
Perhaps you want to stretch it a bit more so it looks like this:

Almost there!
Adding a video
Just as we did with the still image, we now add a background video like this one. Same steps, just drag it onto the sources, then drag it down to be 'behind' the room. Resize the video, so it fills the background. Double-click on 'obs_008' in the 'sources', and enable 'loop', and then 'OK'
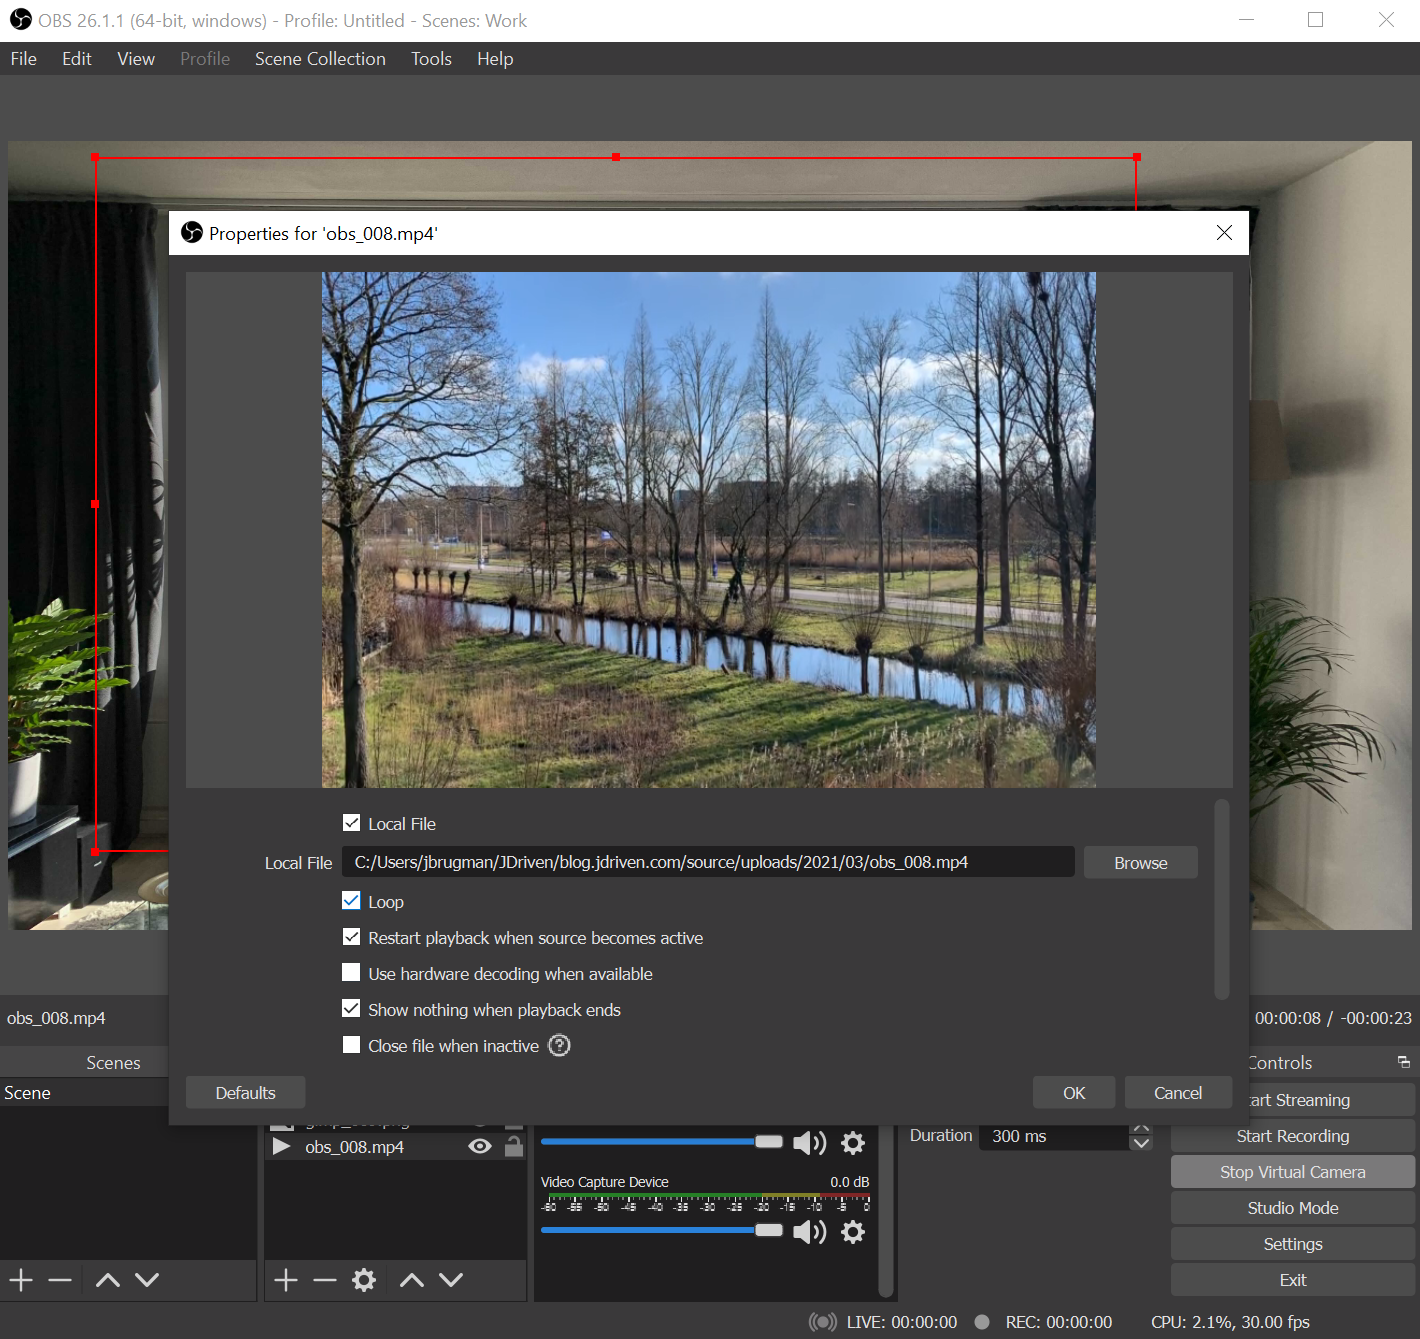
Time to click 'Start virtual camera', and within your favorite conferencing software, just choose the obs virtual camera as your input device!
Troubleshooting (only for MAC)
When using a Mac, you might encounter some issues, like not being able to select the virtual camera in your conferencing software. To solve this, you might take the following steps:
-
Make sure you run the latest version of OBS studio!
-
If Microsoft Teams does not recognise your virtual camera:
# Open a console and do the following actions:
# If you have not done already, install xcode
xcode-select --install

# Now remove the codesign signatures of Microsoft Teams.
sudo codesign --remove-signature "/Applications/Microsoft Teams.app"
sudo codesign --remove-signature "/Applications/Microsoft Teams.app/Contents/Frameworks/Microsoft Teams Helper.app"
sudo codesign --remove-signature "/Applications/Microsoft Teams.app/Contents/Frameworks/Microsoft Teams Helper (GPU).app"
sudo codesign --remove-signature "/Applications/Microsoft Teams.app/Contents/Frameworks/Microsoft Teams Helper (Plugin).app"
sudo codesign --remove-signature "/Applications/Microsoft Teams.app/Contents/Frameworks/Microsoft Teams Helper (Renderer).app"

# Restart Microsoft Teams, and check if you're able to select the virtual camera.-
If Slack does not recognise your virtual camera:
I have not found a way to get this working properly. For now when I want to use the virtual camera within Slack, I’m using the browser version instead of the native app. So perhaps not a 'real' solution, but at least it provides a work-around for this problem.
