Test JPQL queries from inside IntelliJ
Writing JPQL queries can be annoying, because you cannot test them in a database tool or in your IDE. But with IntelliJ Ultimate, you can!
Prerequisites
To run JPQL queries from your IDE you’ll need:
-
IntelliJ Ultimate. Unfortunately the community edition does not support this.
-
A Jakarta EE or Spring project with a JPA persistence provider on its classpath.
Configuring your IDE
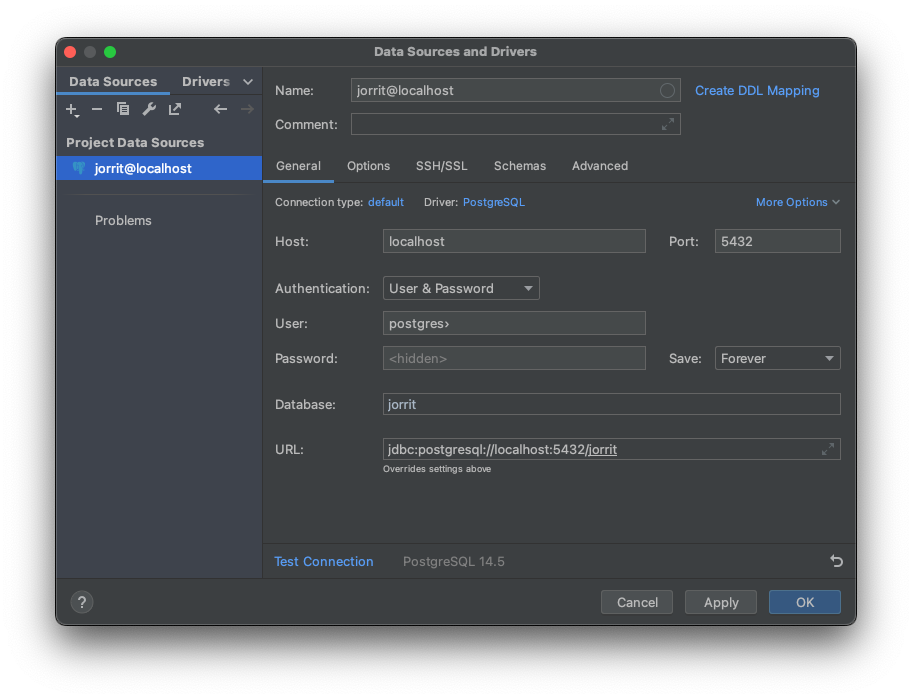
To do this you first need to configure a data source if you haven’t done so already.
Open the Database Tool Window (View → Tool Windows → Database)
and add the database you want to use to test your JPA queries.
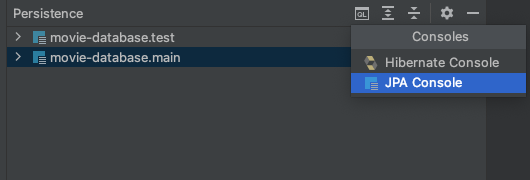
Next, open the Persistence Tool Window (View → Tool Windows → Persistence),
click on the Console button ( ) in the top-right of the tool window and select JPA Console.
| If the Persistence tool window is not available, make sure that the Jakarta EE: Persistence (JPA) plug-in is installed and enabled. This plug-in is bundled with IntelliJ Ultimate. |
The first time you open the console you will be asked to assign a data source to the persistence unit. Select the data source you’ve just created and click the OK button.
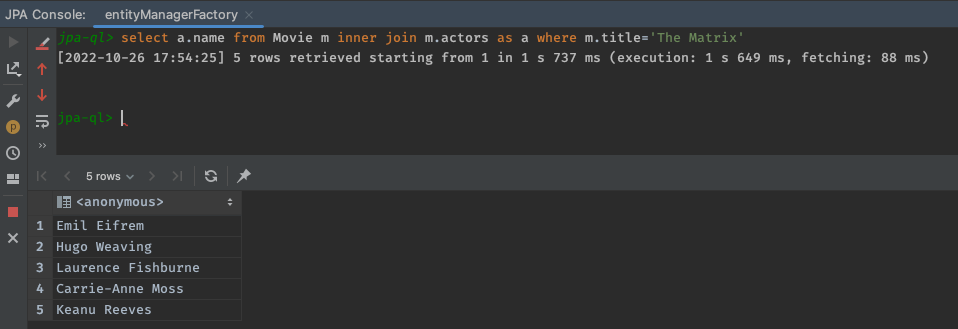
IntelliJ will now open the JPA Console. You can use this console to run JPQL queries on you database as if you were running SQL queries!
Tested with IntelliJ Ultimate 2022.1.4, using Spring Boot 2.7.5 project with Spring Data JPA.
